Data Connectors
Adding your own off-chain datasets to ZettaBlock is easily done by using the provided data connectors. Use the following guide to connect and start using your datasets for indexing and analysis.
Data sources
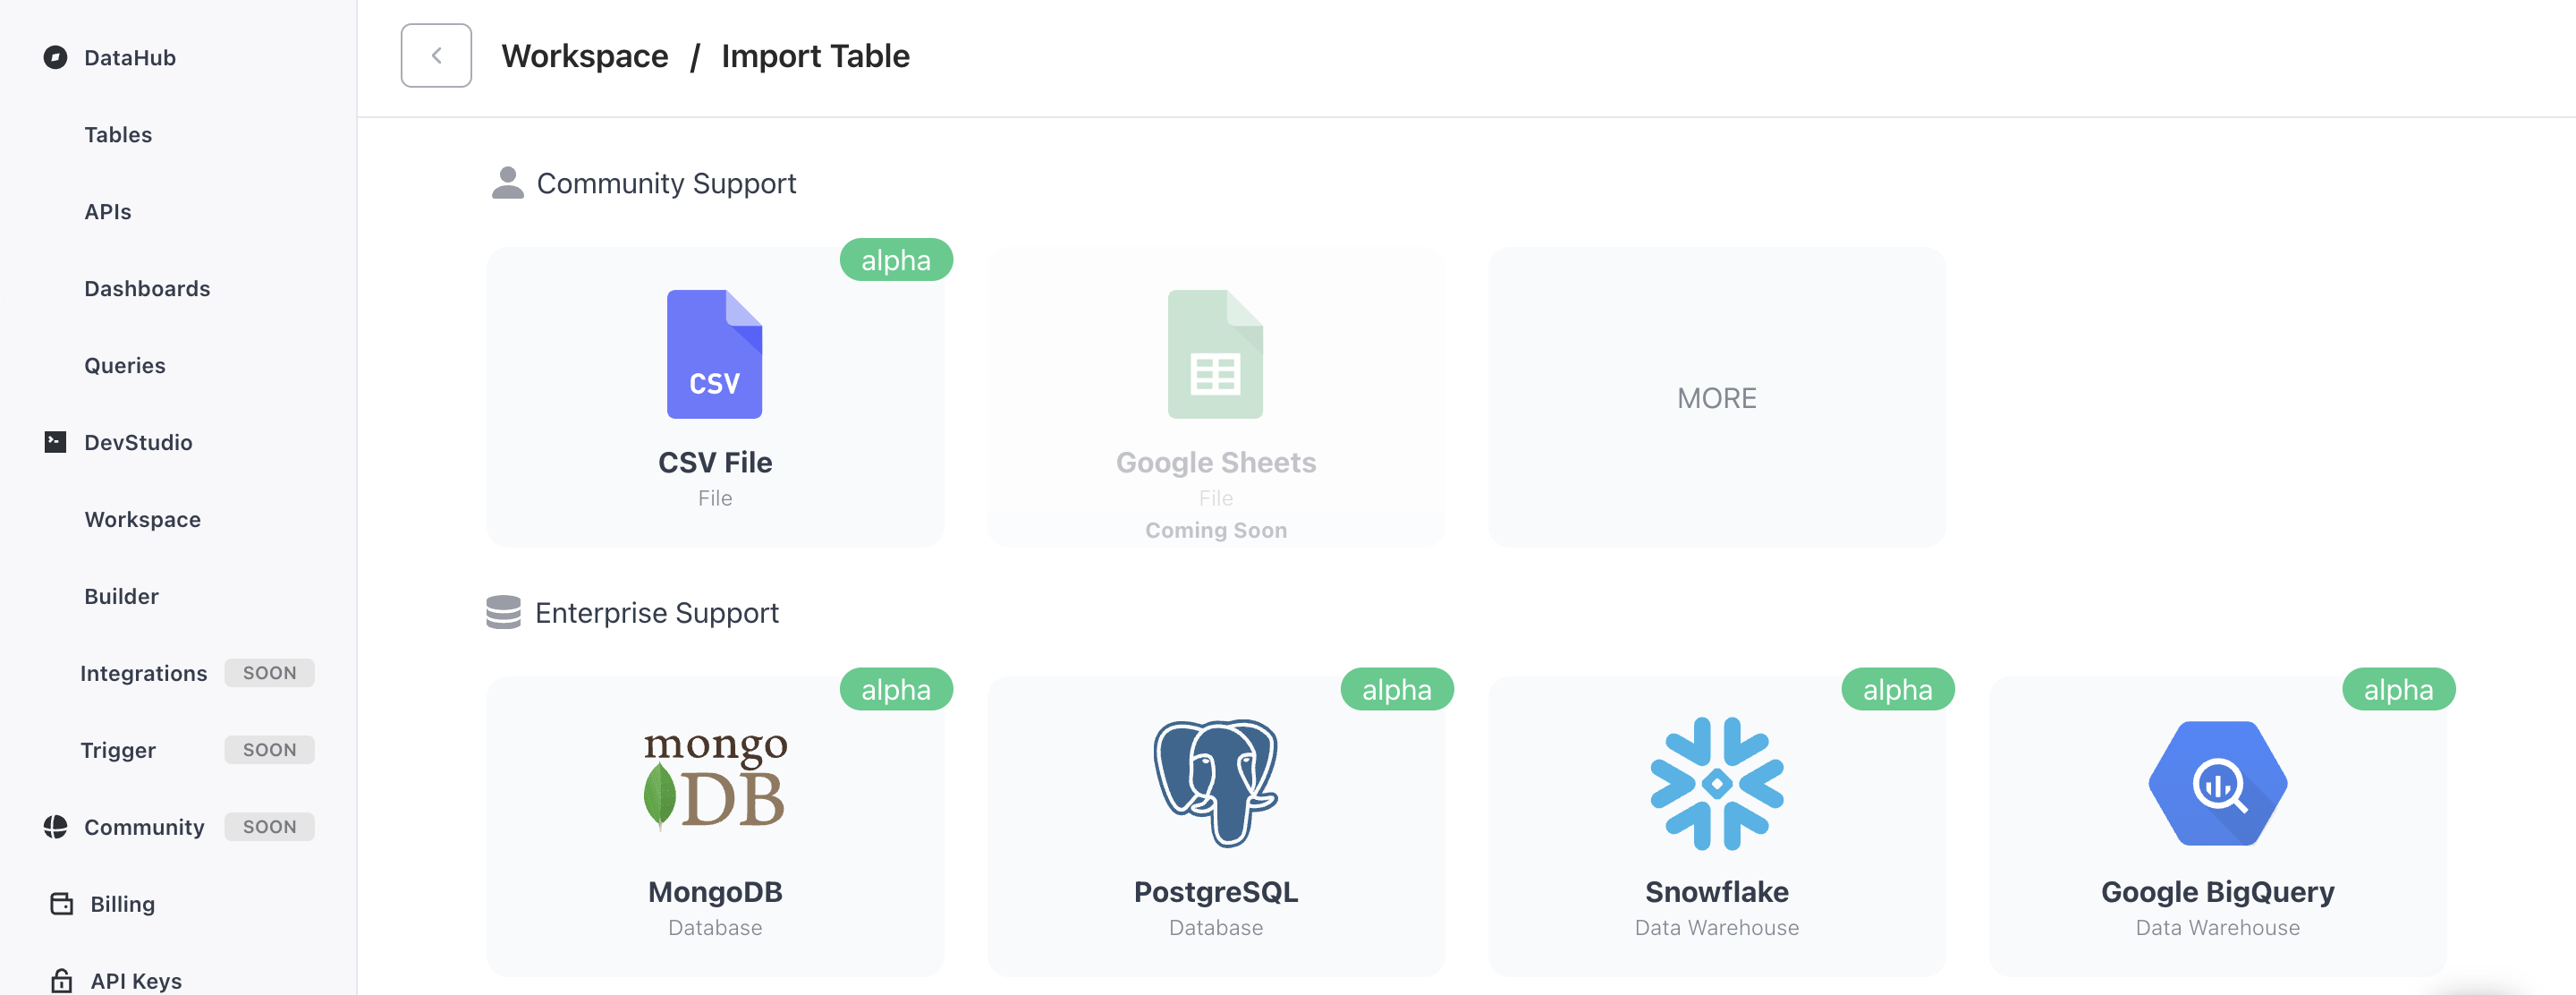
The platform provides quite a few options for data source connectors to Community and Enterprise members. Note that only Enterprise members can access those connectors supported for enterprise. So far we support CSV files, MongoDB, PostgreSQL, Snowflake, Google BigQuery, Databricks, and Amazon S3. More connectors like MySQL and Google Sheets are coming soon.
This section will take you through the 2 commonly used data source connectors - CSV files and a MongoDB database.
1. CSV files
Before you get started
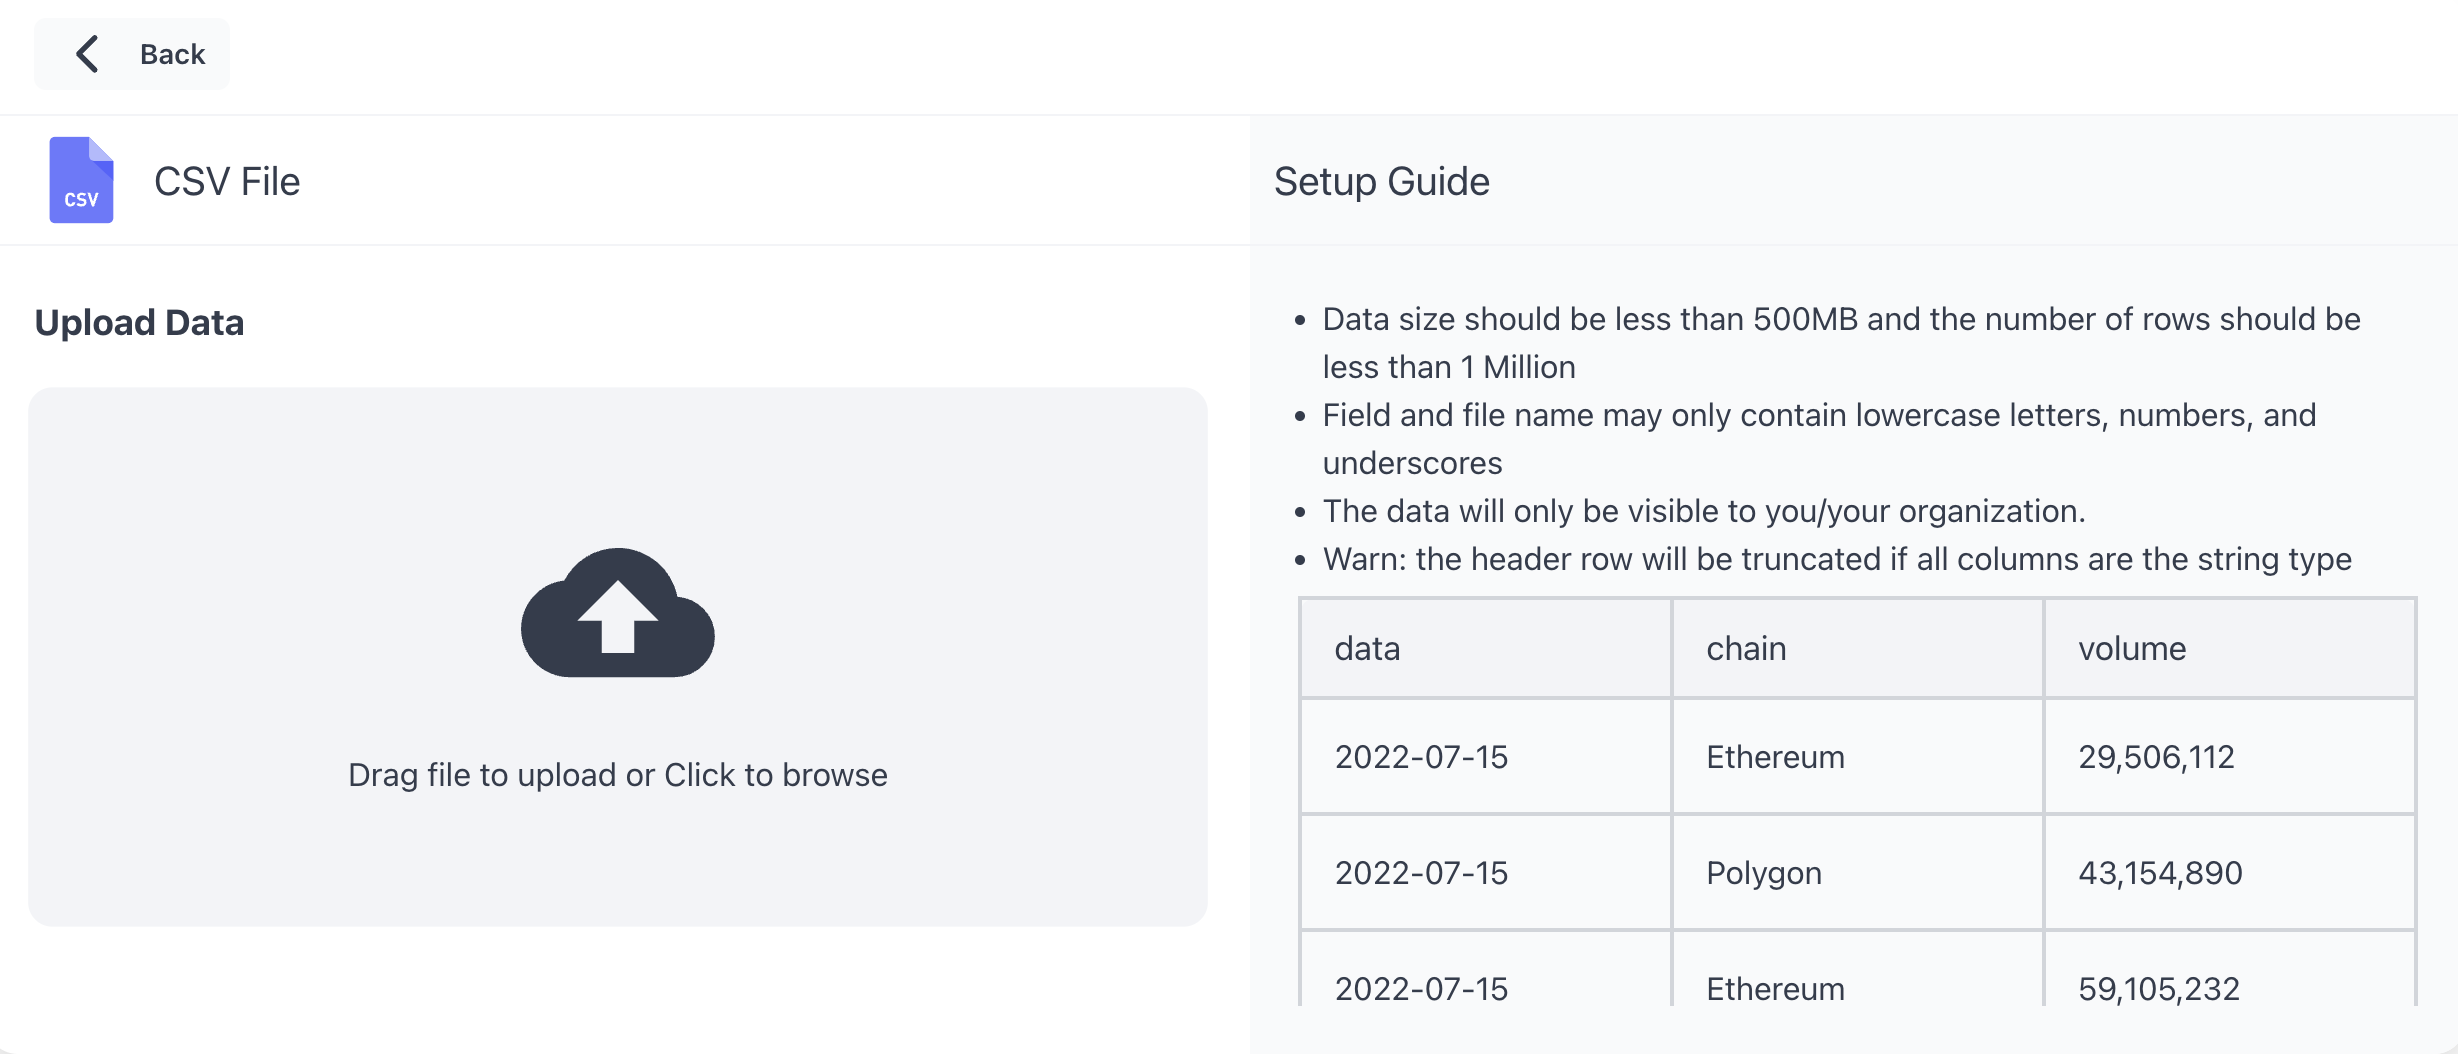
For a CSV file upload, you'll need to ensure the following file guidelines are met before starting your upload:
- The file data size should be less than 500MB and there should be less than a million records.
- The field and file names should only contain lowercase letters, numbers, and underscores.
- The data will only be visible to you (and your organization in the case of enterprise members).
Please note that the header row will be truncated if all columns are the string type.
Ready, set, go!
Once you have your file updated to fit the guidelines provided, upload it onto the platform. You should be able to review the file details once the file is uploaded.
You can then navigate to the Query Builder to view your newly uploaded dataset in the default database. Note that the database name for Enterprise members will be different. The table can now be used within a SQL query for your analysis.
2. MongoDB database
Before you get started
Before you begin with the MongoDB connection, you will need to prepare by complete steps such as creating users, enabling authentication, configure a firewall, etc. The section below details all the steps you will need to review for this connector.
Create users
- Run mongoshell, switch toadmindatabase, and create aREAD_ONLY_USER used for ZettaBlock integration.
- Please make sure that the user has read-only privileges.
mongo use admin; db.createUser({user: "READ_ONLY_USER", pwd: "READ_ONLY_PASSWORD",
                               roles: [{role: "read", db: "TARGET_DATABASE"}]})
Enable MongoDB Authentication
Open/etc/mongo.confand add/replace specific keys
net: bindIp: 0.0.0.0 security: authorization: enabledBinding to 0.0.0.0 will allow connecting to the database from any IP address.
The last line will enable MongoDB security. Now only authenticated users will be able to access the database.
Configure firewall
Make sure that MongoDB is accessible from external servers. Specific commands will depend on the firewall you are using (UFW/iptables/AWS/etc). Please refer to appropriate documentation.
TLS/SSL on a Connection
It is recommended to use an encrypted connection. Connection with TLS/SSL security protocol for MongoDb Atlas Cluster is enabled by default.
Finish the connector setup
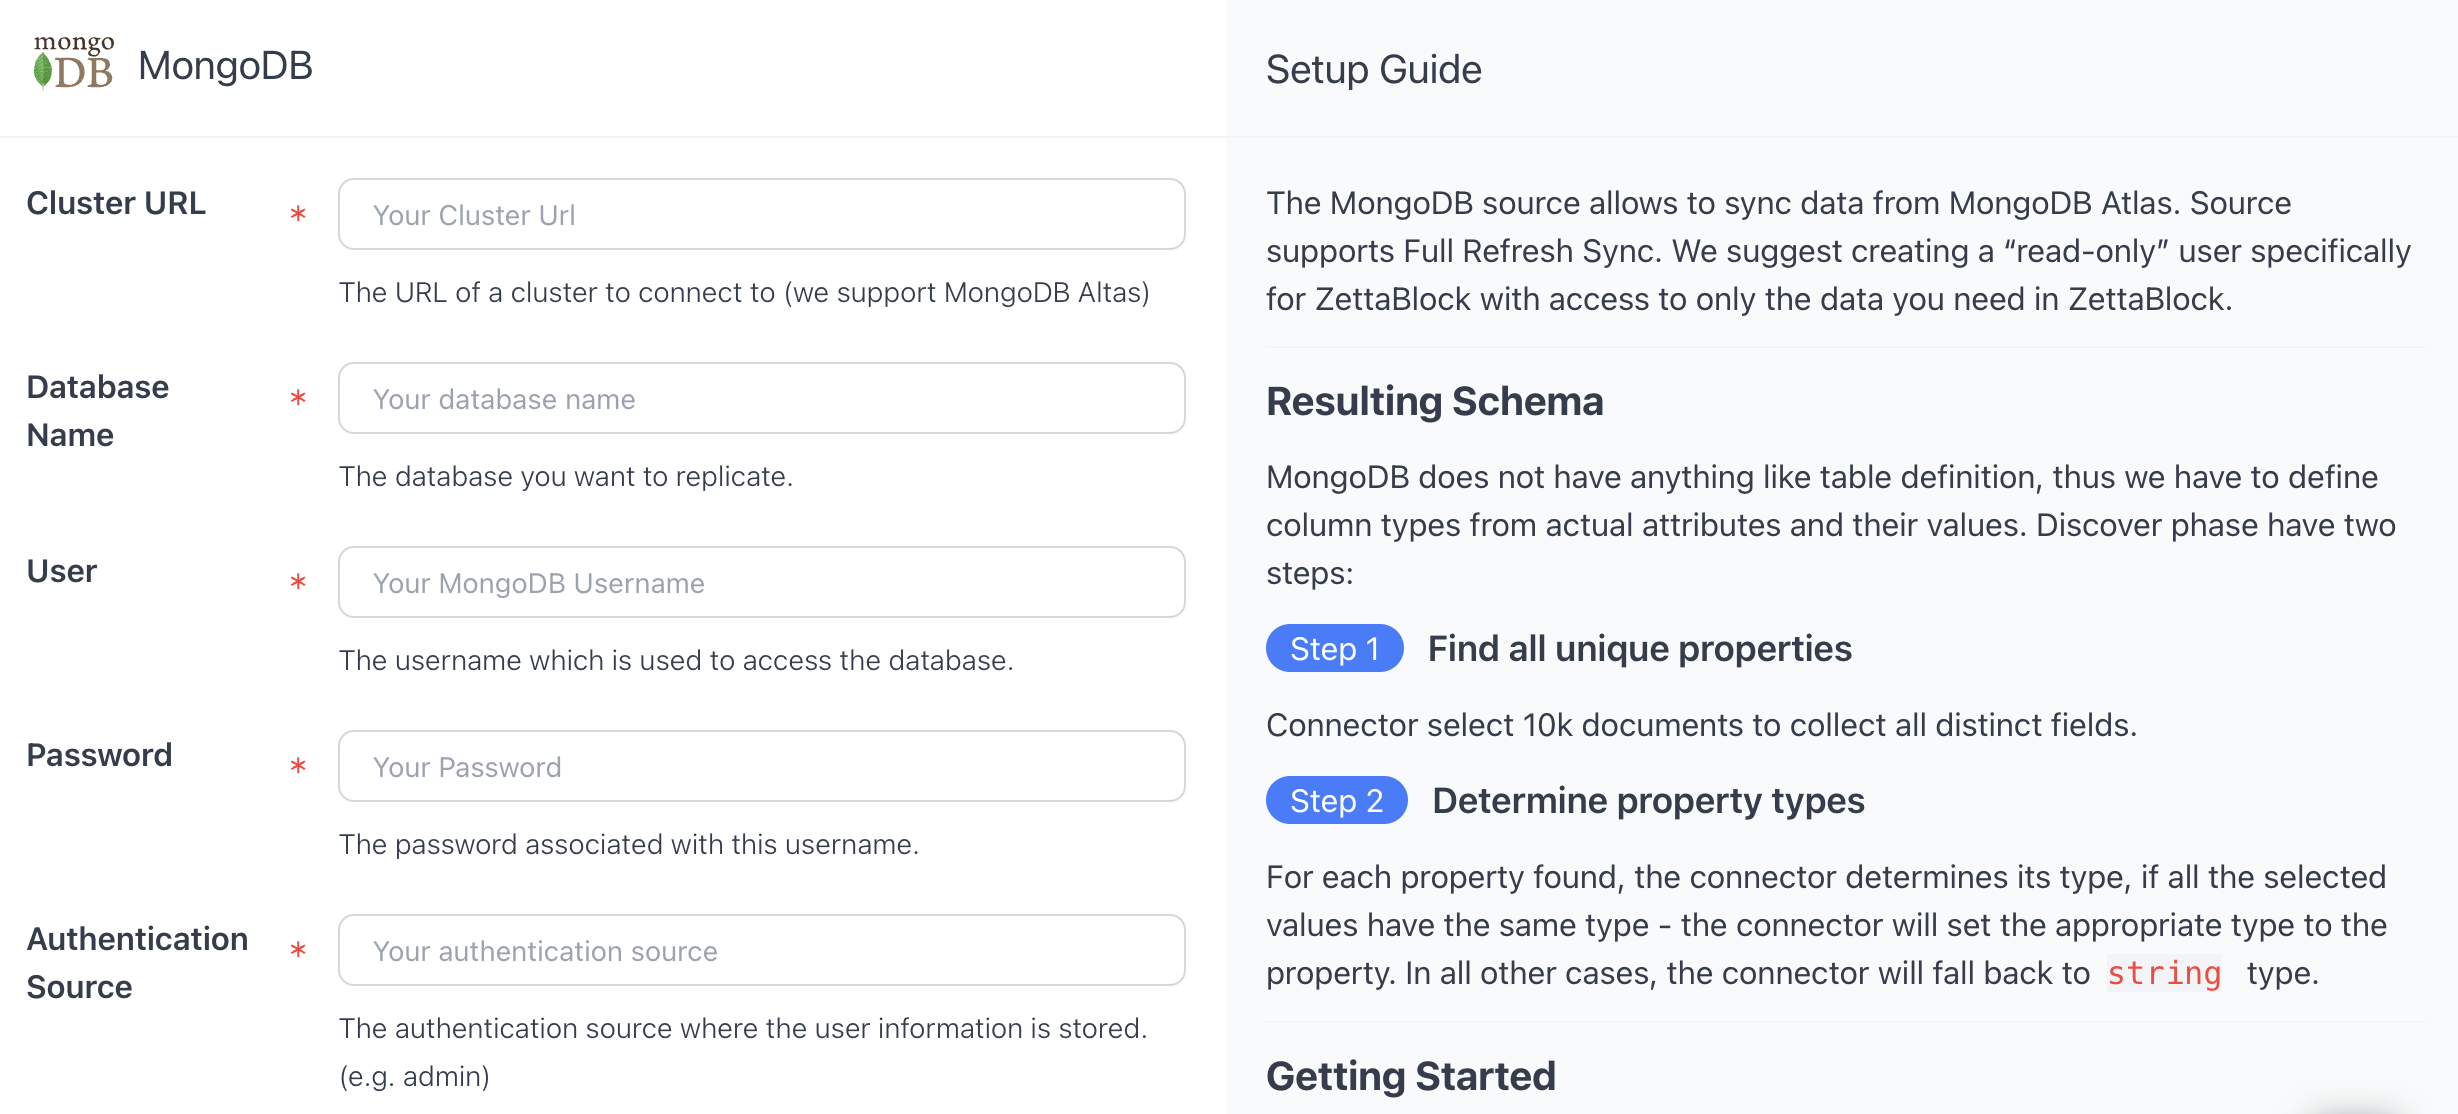
Once, you've prepared your MongoDB database for connection, navigate to the MongoDB section and include your credentials as shown below.
- Database: database name.
- Authentication Source: specifies the database that the supplied credentials should be validated against. Defaults to admin.
- User: username to use when connecting.
- Password: used to authenticate the user.
- Cluster URL: URL of a MongoDb Atlas Cluster to connect to.